强烈建议在Jupyter中调试运行
以下一个代码块为一个Cell
文章内容较多情况下建议Ctrl+f/Command+f查询跳转,或目录概览
参考书籍 & 资料:
《Python编程快速上手》
《Python基础教程(第三版)》
《Python标准库参考》

随笔

字符串对齐格式的运用

# 一个非常棒的想法
# 第一次 format() 以自定义长度

width = 35
price_width = 10
item_width = width - price_width
header_fmt = '{{:{}}}{{:>{}}}'.format(item_width, price_width)
fmt = '{{:{}}}{{:>{}.2f}}'.format(item_width, price_width)
print("在此可以发现上面多个{}的妙用,目的是实现自定义长度的功能\n",
"fmt =",fmt)
print(header_fmt.format('item', 'price'))
print("-" * width)
print(fmt.format('apple', 2))

dict 关于copy & deepcopy

# 浅拷贝时,复制字典项,字典值仍指向原件`p
# 深拷贝全部复制
from copy import deepcopy

item = {'a':1, 'b':[1]}
item_c = item.copy()
item_dc = deepcopy(item)

# is查看是否是同一个对象,用id()查看效果一样
# tips:尽量不将 is 用于不可变对象上
# 对于不可变的对象,即便是深拷贝也是指向同一个对象
print(item['a'] is item_c['a'])
print(item['a'] is item_dc['a'])
print(item['b'] is item_dc['b'])

print(id(item['a']) == id(item_dc['a']))

True
True
False
True

正则表达式

简单匹配一个密码,未对特殊字符的存在做判断

import re

def password_check(password):
if len(password) < 8:
return False
strengthRegex = re.compile(r'[a-zA-]+') # 至少有一个字母
if strengthRegex.search(password) == None:
return False
strengthRegex = re.compile(r'\d+') # 至少有一个数字
if strengthRegex.search(password) == None:
return False
return True

print(password_check('avsa1'))
print(password_check('sadaskjdh1'))
print(password_check('sadaskjdh1好'))

False
True
True

?: 可不捕获当前括号的内容

## 正则表达式 ?: 可不捕获当前括号的内容
regex1 = re.compile(r'(Chapter)[ ]?([1-9][0-9]{0,1})')
regex2 = re.compile(r'(?:Chapter)[ ]?([1-9][0-9]{0,1})')
print(regex1.search('Chapter 12')[1])
print(regex2.search('Chapter 12')[1]) # 不捕获 Chapter

Chapter
12

匹配对象和编组

在模块re中,查找与模式匹配的子串的函数都在找到时返回MatchObject对象。这种对象包 含与模式匹配的子串的信息,还包含模式的哪部分与子串的哪部分匹配的信息。这些子串部分称 为编组(group)。

编组就是放在圆括号内的子模式,它们是根据左边的括号数编号的,其中编组0指的是整个模式。

# 下面分组[1]为第一个括号(最左侧的括号)
a = re.compile('((\d)+.)(\d)*')
print(a.search('1123.22')[3])
a.search('1123.22')[3]

‘2’

引发异常

raise Exception()/NameError()/TypeError()/ValueError()...可控制程序引发异常,以下是一段示例

number = int(input())
if number < 2:
raise Exception('Number should be greater than 2')
print(number + 1)

-1
———————————————————-
Exception Traceback (most recent call last)
in
1 number = int(input())
2 if number < 0:
—-> 3 raise Exception(‘Number should be greater than 2’)
4 print(number + 1)

Exception: Number should be greater than 2

断言assert

其运行机制与if [not true]: raise Exception()很像,引发AssertionError

def always_error():
assert False, 'This assertion will be always triggered'

always_error()

sys.argv

返回的参数与命令行运行文件时文件名及其之后的参数一致

get_argv.py
import sys

print(sys.argv)

命令行下运行

python3 get_argv.py first second third,fourth

[‘get_argv.py’, ‘first’, ‘second’, ‘third,fourth’]

可以看到第一个参数为文件名,之后的参数以空格分割,而非,

通过带星号的参数优雅的处理参数过多

def add(x,y,*others):
if others:
print('输入的参数过多,只对前两个进行计算')
return x+y

print(add(1,2,3))

输入的参数过多,只对前两个进行计算
3

查看作用域

vars() & locals() 皆可查看当前作用域
但注意,在函数内进行修改似乎并不能改变当时局部变量的值

def test():
b = 2
print(vars())
vars()['b'] = 3
locals()['b'] = 3
print(b)

test()

{‘b’: 2}
2

Tips: globals() 可查看全局作用域,并可以在函数内修改,在函数内使用global关联全局变量时,对其做的操作会影响到全局变量

关于 iterable对象

能一次返回其中一个成员的对象
检测一个对象是否是iterable 的唯一可信赖的方法是调用 iter(obj)

map() & filter() & reduce()

map() 和 filter() 基本都可通过列表推导 (List Comprehension) 替代实现
引用摘自Python标准库参考,务必先有iterable概念再去理解,或者跳过看后面

map()

map(function, iterable, …)
返回一个将 function 应用于 iterable 中每一项并输出其结果的迭代器。如果传入了额外的 iterable 参数,function 必须接受相同个数的实参并被应用于从所有可迭代对象中并行获取的项。当有多个可迭代对象时,最短的可迭代对象耗尽则整个迭代就将结束。

以列表为例,翻译一下就是对list对象中的每个元素调用function,最终返回一个iterable对象,可以通过list()将其变为list对象

list(map(str, range(10))) # 等价于[str(i) for i in range(10)]

[‘0’, ‘1’, ‘2’, ‘3’, ‘4’, ‘5’, ‘6’, ‘7’, ‘8’, ‘9’]

filter()

filter(function, iterable)
用 iterable 中函数 function 返回真的那些元素,构建一个新的迭代器。iterable 可以是一个序列,一个支 持迭代的容器,或一个迭代器。如果 function 是 None ,则会假设它是一个身份函数,即 iterable 中所有返回假的元素会被移除。

filter() 如其名,当成对iterable对象对过滤器理解即可,对对象中的每个元素调用function函数,返回其中结果为真的那些元素,若function=None,则过滤掉本身是假的元素

list(filter(None,[1,2,'',0,[],{},3,4])) # 等价于[i for i in [1,2,'',0,[],{},3,4] if i]

[1,2,3,4]

reduce()

reduce(function, iterable[, initializer ])
将两个参数的 function 从左至右积累地应用到 iterable 的条目,以便将该可迭代对象缩减为单一的值。例如,reduce(lambda x, y: x+y, [1, 2, 3, 4, 5]) 是计算 ((((1+2)+3)+4)+5) 的值。左边的参数 x 是积累值而右边的参数 y 则是来自 iterable 的更新值

求多个集合的并集时可使用 reduce(),需要先从functools中导入

from functools import reduce
my_sets = []
for i in range(10):
my_sets.append(set(range(i, i+5)))

union_set = reduce(set.union, my_sets)
print(union_set)

{0, 1, 2, 3, 4, 5, 6, 7, 8, 9, 10, 11, 12, 13}

lambda 匿名内联函数

语法为: lambda [参数]: [表达式]

可与map(), filter(), reduce() 结合使用

获取函数运行时间和内存使用情况

内存的查看需要安装memory_profiler包,pip install 即可

import memory_profiler
print('Memory (Before) : {}Mb'.format(memory_profiler.memory_usage()))
t1 = time.clock()
function()
t2 = time.clock()
print('Memory (After) : {}Mb'.format(memory_profiler.memory_usage()))
print('took {} Seconds'.format(t2-t1))

生成器 generator

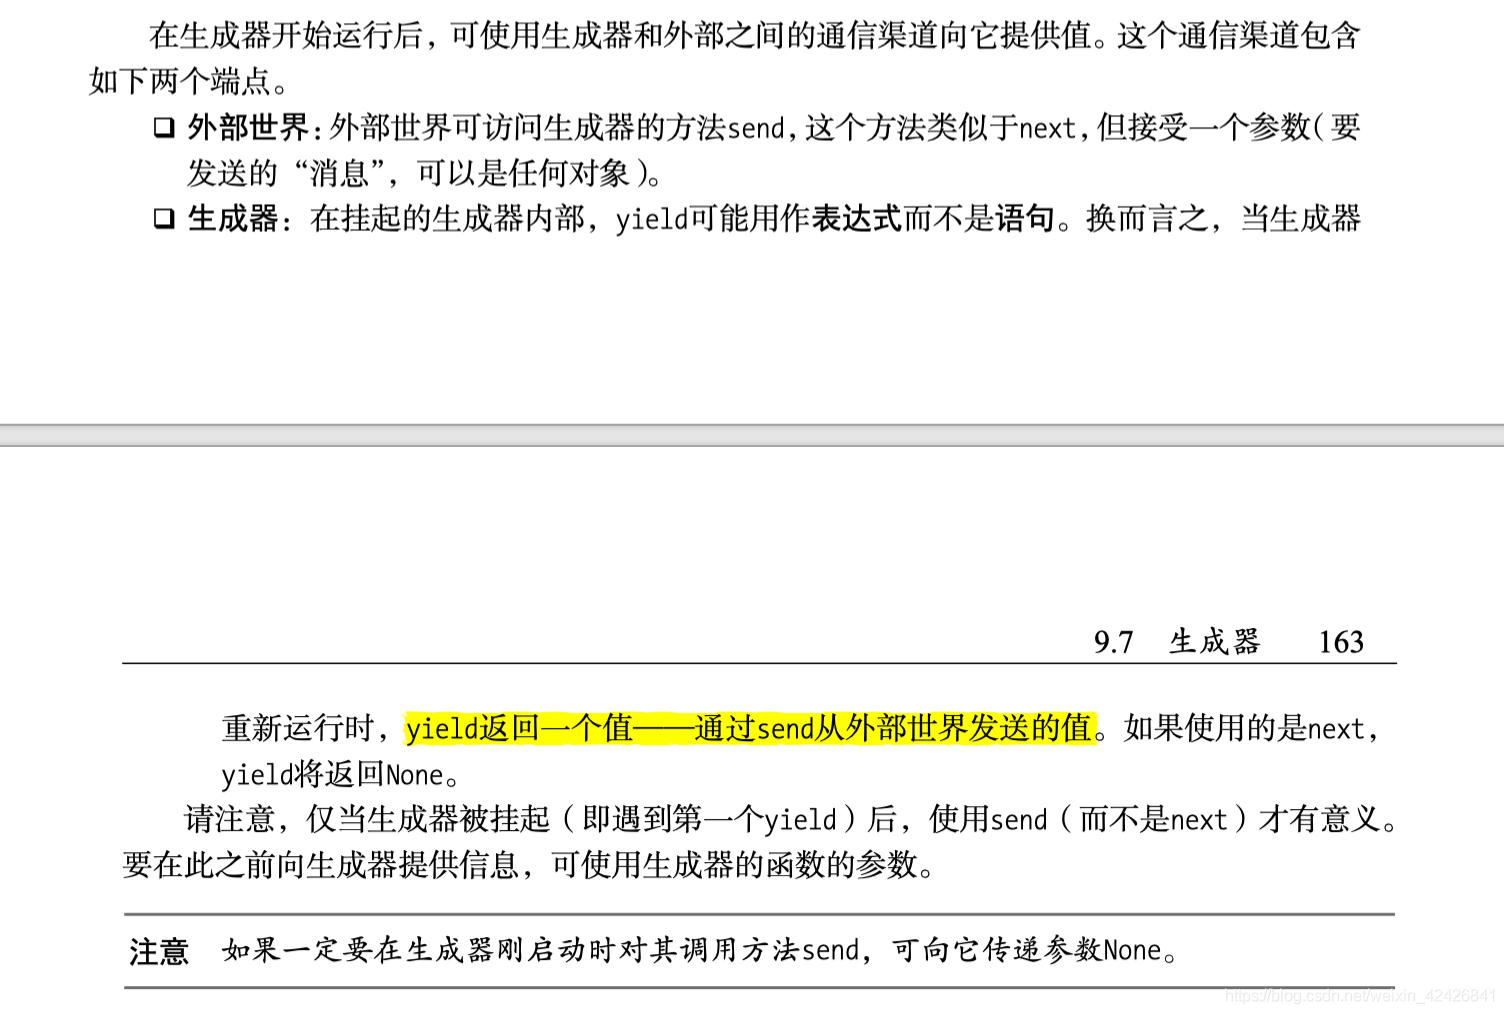
The value of a yield expression is None, until the program calls the method send(value).
yield表达式返回 None,直到使用 send(value) 方法

先看看生成器和函数在运行时的浅显差异

def my_gen(i):
while True:
value = (yield i + 1)
i += 1
if not value:
print("调用next()时 yield 返回值为 None")
else:
print(f"调用send(value) yield 返回值为 {value}")


def my_list(i):
return list(range(i))

# 为下面两条语句设置断点,并进行调试,选择步入
a = my_gen(1)
b = my_list(1) # 你会发现只有my_list()函数在一开始被调用

在以下调用 next() 和 send() 的所有位置设置断点,选择步入。下面的序号解释对应代码块中注释的语句:

  1. 可以发现并没有触发函数的if语句,在执行 yield 语句后 函数 便返回值了,注意,此时 yield 表达式并没有返回值给 value,在下一次运行时才会返回
  2. 此时会续上之前 yield ,像是被挂起的进程又被 next() 唤醒,并给 value 赋值,从 i += 1 往下运行,经过循环回到开头,然后遇到 yield 再次被挂起
  3. 注意,此时并没有从头开始,而是像唤醒进程一样继续,但是,你会发现生成器内部 yield 返回给 value 的值变成了10,这个值刚好是 send() 从外部发送的值,但你在一开始其实并没有执行 yield,若你有些困惑,不妨看看 1 注释
# 注意在同一行使用多个next时可能会发生一开始没有想到的结果
# print(next(a),next(a))
print("第一次 next() 运行结果:")
print(f"{next(a)}\n") # 1

print("第二次 next() 运行结果:")
print(f"{next(a)}\n") # 2

value = 10
return_value = a.send(value) # 3
print(return_value) # 返回的值为 i+1 (i==3)

第一次 next() 运行结果:
2
第二次 next() 运行结果:
调用next()时 yield 返回值为 None
3
调用send(value) yield 返回值为 10
4

相关链接&图片:

Python Generators
PEP342
Python基础教程

双端队列

队列长度较短的情况下,使用 appendleft(x) 和 insert(0, x) 在队首插入元素的效率差不多,较长的情况下 appendleft 略优于 insert,测试用例:

import time
LENGTH = 10000000

a = deque([])
before = time.time()
for i in range(LENGTH):
a.insert(0,i)
after = time.time()
print(f"[INSERT]: {after - before} s")

a = deque([])
before = time.time()
for i in range(LENGTH):
a.appendleft(i)
after = time.time()
print(f"【APPENDLEFT】: {after - before} s")

【INSERT】: 1.208339929580688 s

【APPENDLEFT】0.8946981430053711s

对比队列(即列表)操作

注意,列表的 insert() 操作每次将会引起O(n)的内存移动,而双端队列对其进行了优化。在队首插入大量元素时,列表所消耗的时间远远大于双端队列,测试用例:

import time
LENGTH = 100000 # 不妨加多一个0看看更大的差别
# 双端队列
a = deque([])
before = time.time()
for i in range(LENGTH):
a.insert(0,i)
after = time.time()
print(f"【双端队列】: {after - before} s")

# 队列(列表)
a = []
before = time.time()
for i in range(LENGTH):
a.insert(0,i)
after = time.time()
print(f"【队列】: {after - before} s")

【双端队列】: 0.01209402084350586 s

【队列】: 1.6215879917144775 s

如果进程使用了局部变量,则可能导致另一个进程卡死

我在PyQt5中使用多进程并行操作时,因为调用了self.func(),致使UI界面卡死,而当我把该调用移到外部然后传递参数后,一切如预期进行。

导入 Python 包

导入包不代表导入了包中的函数,仅代表导入__init__.py中定义的函数,

利用 try 减少多余操作

if 'Tom' in person:
Age = person['Tom']

上面这段代码查找了两次Tom键,可以利用try的特性假设Tom存在直接赋值

try:
Age = person['Tom']
expert KeyError: pass

循环遍历嵌套字典的坑

当字典是多重嵌套时,比如request请求翻译返回的json,如果用 for i in json[‘trans_result’] 遍历时仅指定第一层的键,那么返回的值仅是它本身的字符串,而非内部嵌套结构,不过应该可以通过重写方法__iter__()进行修改

报错:The process has forked and you cannot use this CoreFoundation functionality safely. You MUST exec().

if __name__ == '__main__':
# 添加以下两句
if platform.system() == "Darwin":
multiprocessing.set_start_method('spawn')

进程之间的通信队列

需要使用multiprocessing.Manager().Queue(),queue.Queue()用于多线程

m = multiprocessing.Manager()
queue = m.Queue()

项目

Python 编程快速上手

9.4:将美国风格的日期文件改成欧洲风格

MM-DD-YYYY -> DD-MM-YYYY

#! python3
import os
# Get current dir of work
while True:
cwd = os.path.abspath(
input('Input your current directory of work:'))
if os.path.isdir(cwd):
break

# List files
# for foldername, subfolders, filenames in os.walk(cwd):
# print(foldername,subfolders,filenames)
filenames = [filename for filename in os.listdir(cwd)]
# Create regex and replace MM <-> DD
import re
import shutil

data_regex = re.compile(r'(\d\d)-(\d\d)-(\d\d\d\d.?[a-zA-Z]{0,3})')
for filename in filenames:
data = data_regex.search(filename)
if data:
new_filename = '-'.join([data[2], data[1], data[3]])
# 在运行重命名的代码前,最好先做个test
print('Rename "%s" to "%s"' % (os.path.join(cwd, filename), os.path.join(cwd, new_filename)))
# uncomment after testing
# try
# shutil.move(os.path.join(cwd,filename), os.path.join(cwd,new_filename))
# except:
# break
# datas.append(data_regex.findall(filename))
else:
print('ok')

9.5: 打包文件夹

## 打包文件,基于Python标准库
# shutil.make_archive(base_name, format [, root_dir[, base_dir[, owner[, group[,logger ]]]]]]])
# base_name指定生成的文件名 or 文件路径,默认在当前文件夹下,去除扩展名
# format:归档格式,root_dir 可指定目录路径,base_dir可指定文件/目录路径(默认可以基于root_dir扩展)
# dry_run=True,则不会创建归档文件,但将要被执行的操作会被记录到 logger
# owner 和 group 将在创建 tar 归档文件时被使用。默认会使用当前的所有者和分组
# logger 必须是一个兼容 PEP 282 的对象,通常为logging.Logger 的实例
import shutil

shutil.make_archive('output_filename','zip','dir_name','file_name')

链接可加深shutil.make_archive()理解

import os, shutil

def make_archive(source, destination):
'''让make_archive更易于使用'''
base = os.path.basename(destination)
name = base.split('.')[0]
format = base.split('.')[1]
archive_from = os.path.dirname(source)
archive_to = os.path.basename(source.strip(os.sep))
print(source, destination, archive_from, archive_to)
shutil.make_archive(name, format, archive_from, archive_to)
shutil.move('%s.%s'%(name,format), destination)

make_archive('/path/to/folder', '/path/to/folder.zip')

11.1 通过命令行进行谷歌地图检索

#! python3
# 命令行打开谷歌地图搜索地名,解决中文地名方法源于:
# https://www.ptt.cc/bbs/Python/M.1566904299.A.076.html
# https://www.urlencoder.io/python/
# usage: python3 mapIt.py '地名'

import webbrowser
import sys
import urllib.parse

if len(sys.argv) > 1:
address = urllib.parse.quote(' '.join(sys.argv[1:]))
webbrowser.open('https://www.google.com/maps/place/' + address)
else:
pass

关于urllib.parse模块

#! python3
## 使用urllib.parse模块把中文转换成可被识别的模式,若不导入该模块,则不能查中文地名
# urllib.parse.quote(string, safe=’/’, encoding=None, errors=None)
# safe指定不转码的字符,默认'/'

import urllib.parse

print(urllib.parse.quote('/中国'))
print(urllib.parse.quote('/中国',safe='.'))
print('/中国'.encode('utf8'))

/%E4%B8%AD%E5%9B%BD
%2F%E4%B8%AD%E5%9B%BD
b’/\xe4\xb8\xad\xe5\x9b\xbd’
一番配置后深感付出与时间不成正比,缺乏css知识的情况下更是如此。再者选择Next的主题就是为了精简,故待后续有时间了再做配置更新。

以下代码块若未曾指定文件,默认命令行操作

博客操作

增加新标签页

  • 新增加的界面位于博客主目录下的 source 中
hexo new page tags
hexo new page categories
阅读全文 »